Prism Tutorial
Thank you so much for purchasing one of my prisms. I cannot tell you how much I appreciate your support.
Scroll below for a short video tutorial explaining how I personally use the prisms and how you can get the best out of them. There are also lots of quick tips and tricks you can read through as well.
The key thing with anything new is to get out there and try it out, so find some sunshine and start playing with your new piece of kit…

Press play
Tag #theprismlibrary on socials to be featured
*
Tag #theprismlibrary on socials to be featured *
All of my top tips and tricks…
Shoot with a wide open aperture. Ideally below F3.0 / F4.0 to let as much light through your prism in to your lens but play around with the options you have with your kit. A wide aperture is what will give your image the blurred, light flare effect. If you have too narrow an aperture (F18 / F22 for example), the prism will come too much in to focus which is something we want to avoid.
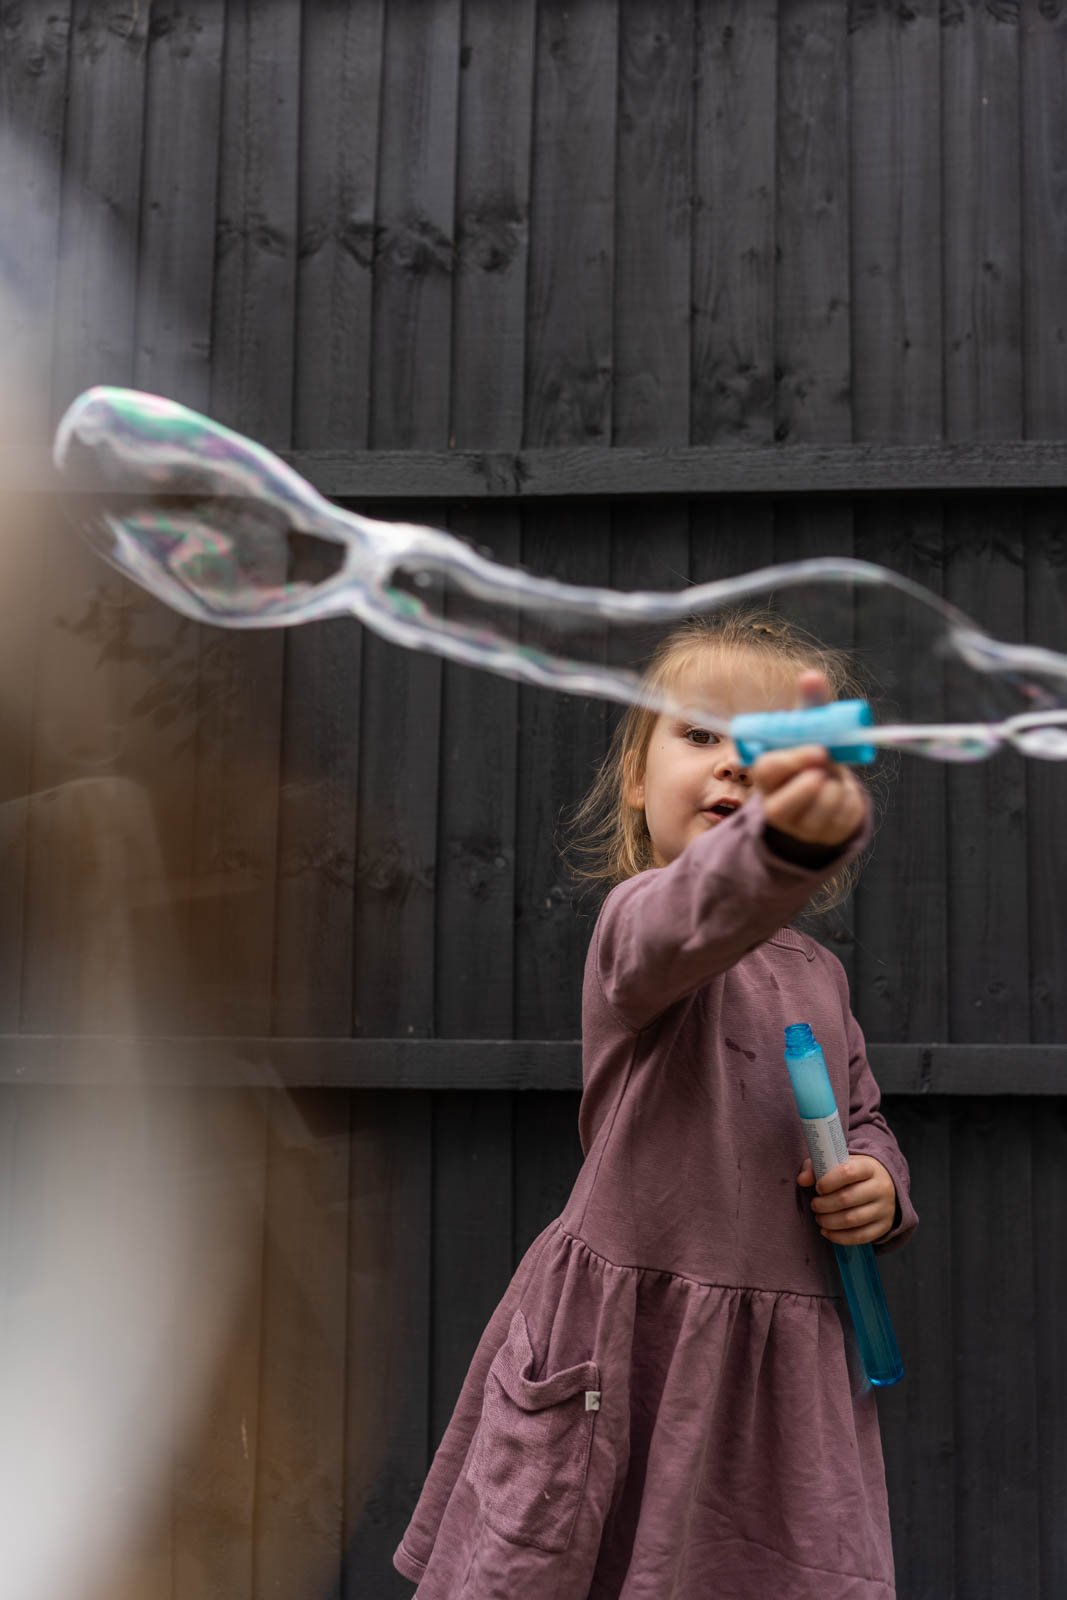
Using prisms is a creative outlet, play around with the effects the prisms can create for you. Try using different lenses, subjects and light sources. Some effects you will love and some you may not, keep playing with the potential outcomes until you find your favourite and then keep doing it.
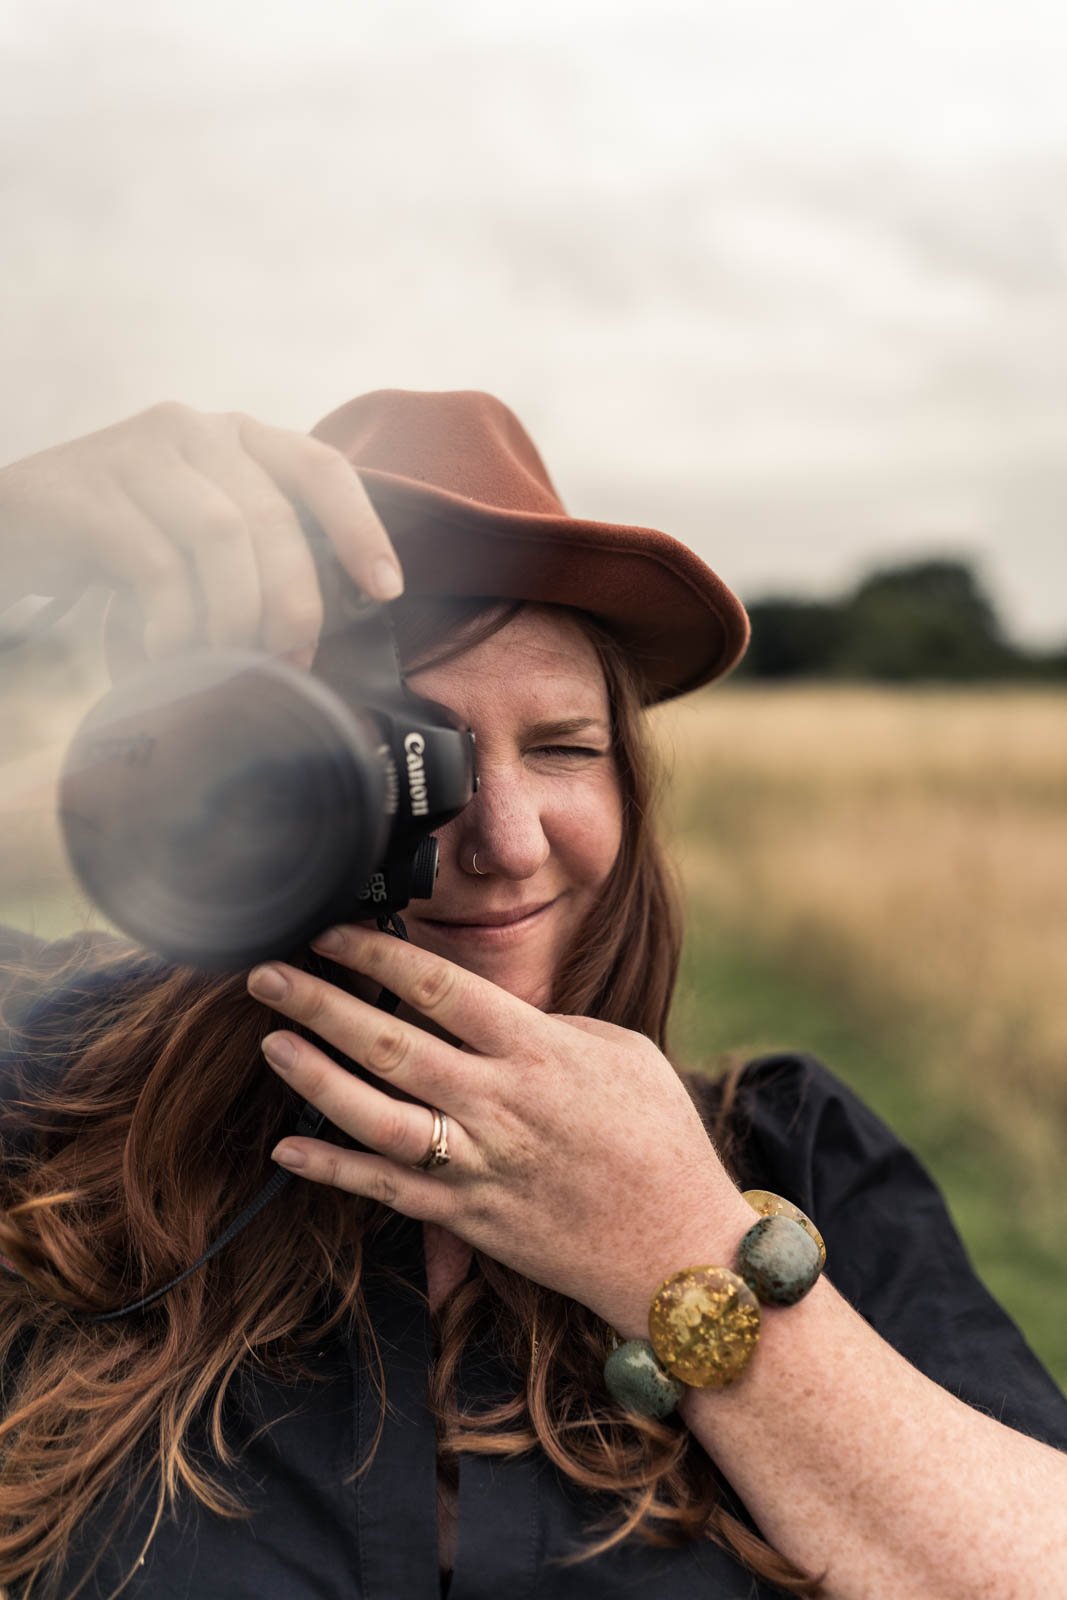
Remove lens hoods - you want the prism to be as close to the front of the lens as possible.
Whilst shooting with prisms, keep checking your preview to see the effects you are getting. For mirrorless cameras this is really easy as you have a live viewfinder. For DSLRs be sure you check your preview.
If having a wide open aperture starts to blow your highlights on a really sunny day, you have three options;
Bring down your ISO,
Increase your shutter speed, or,
Use a variable ND filter on your lens.
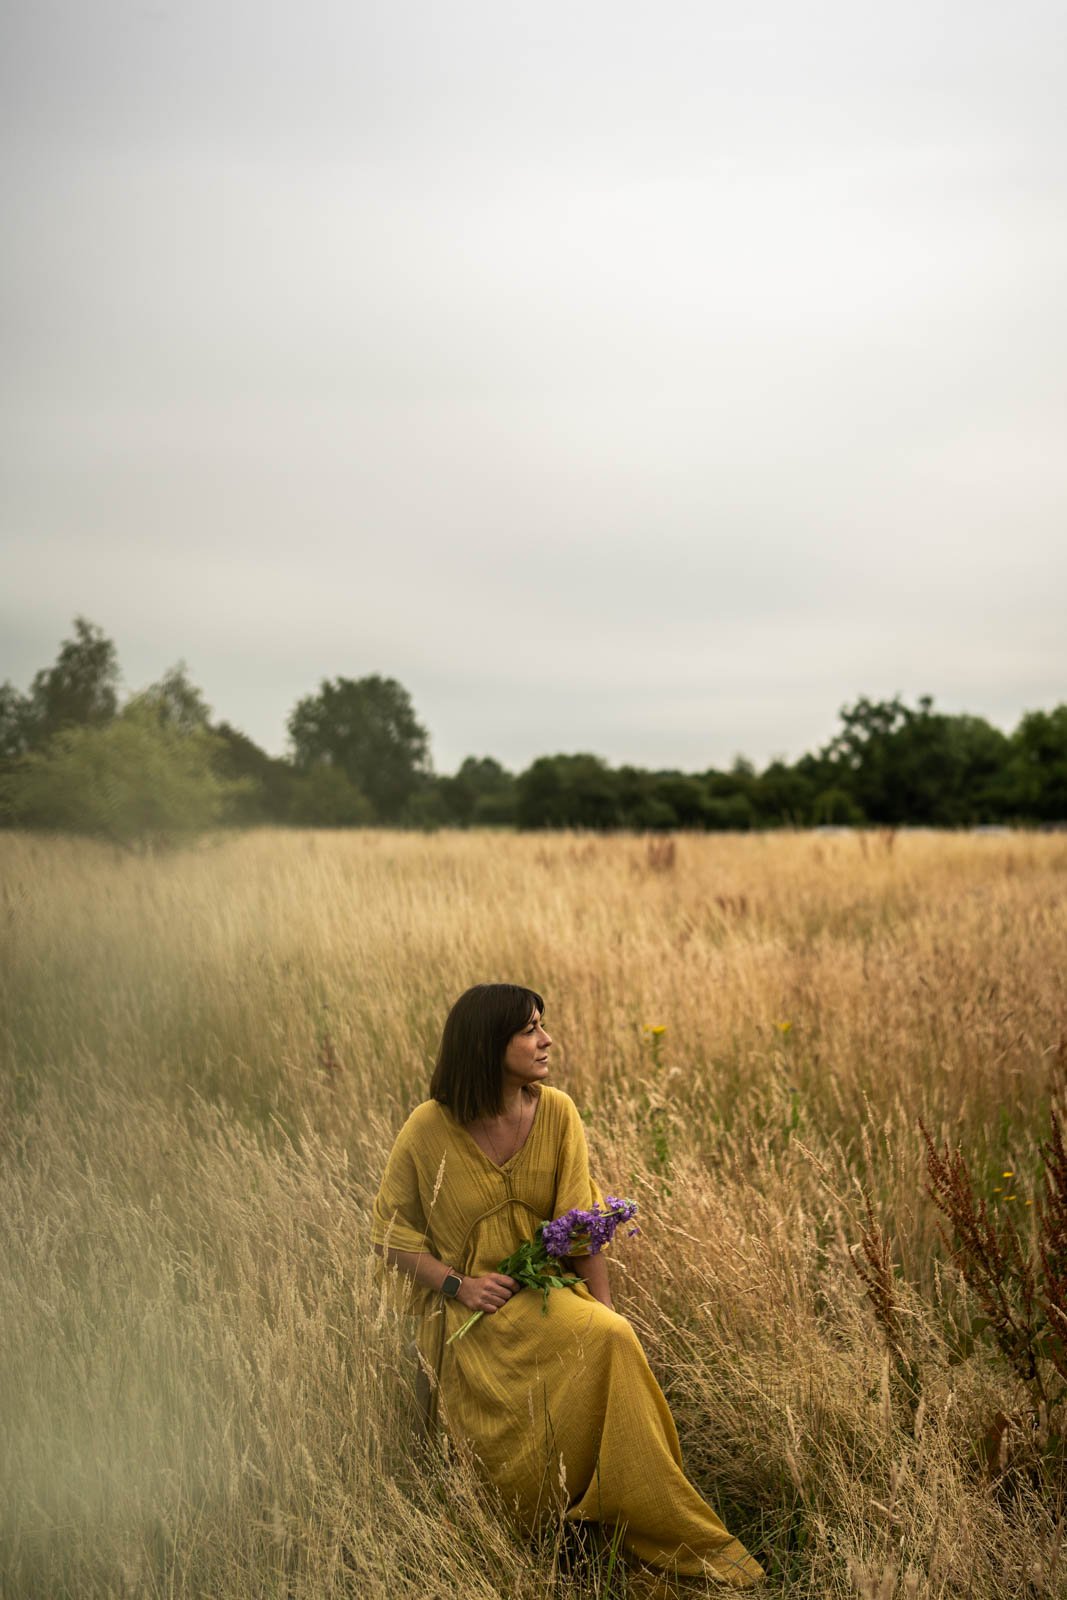
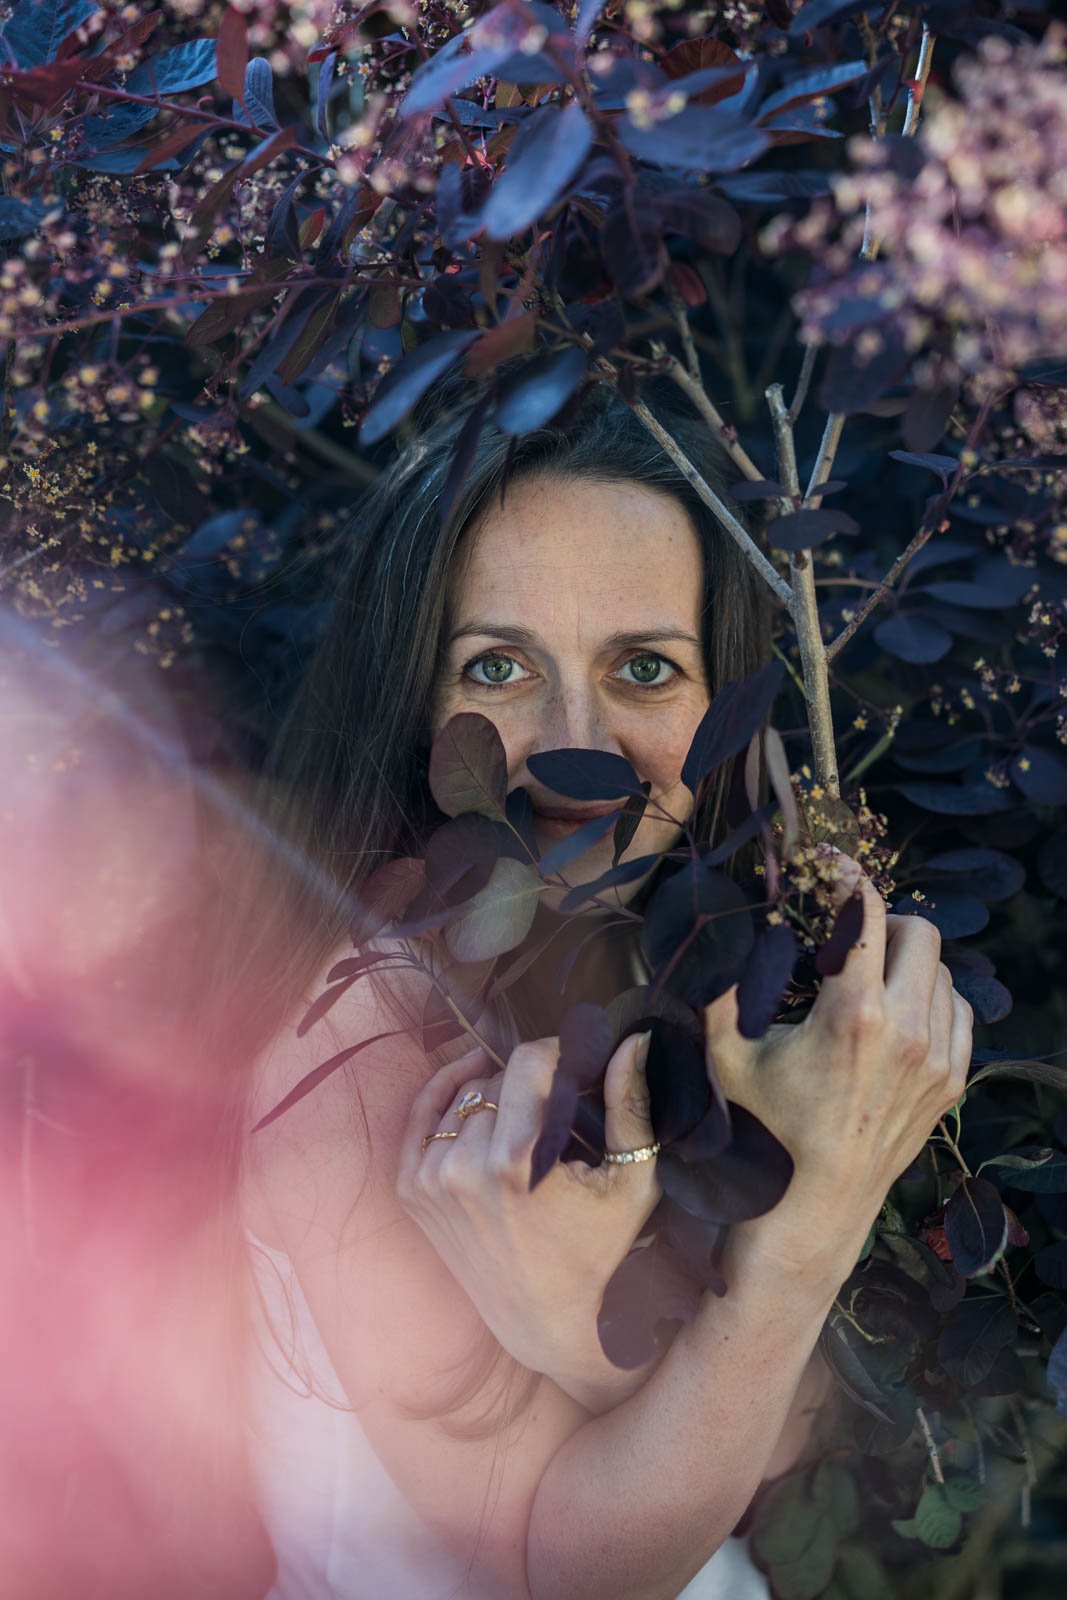
If you shoot with your subject back-lit (the sun behind them) your prism will “catch” the most amount of light as you are directly pulling the sun light in to your prism. If you shoot with the sunlight behind you, the prisms will pick up less of that sun light to give you a more subtle effect in your frame.
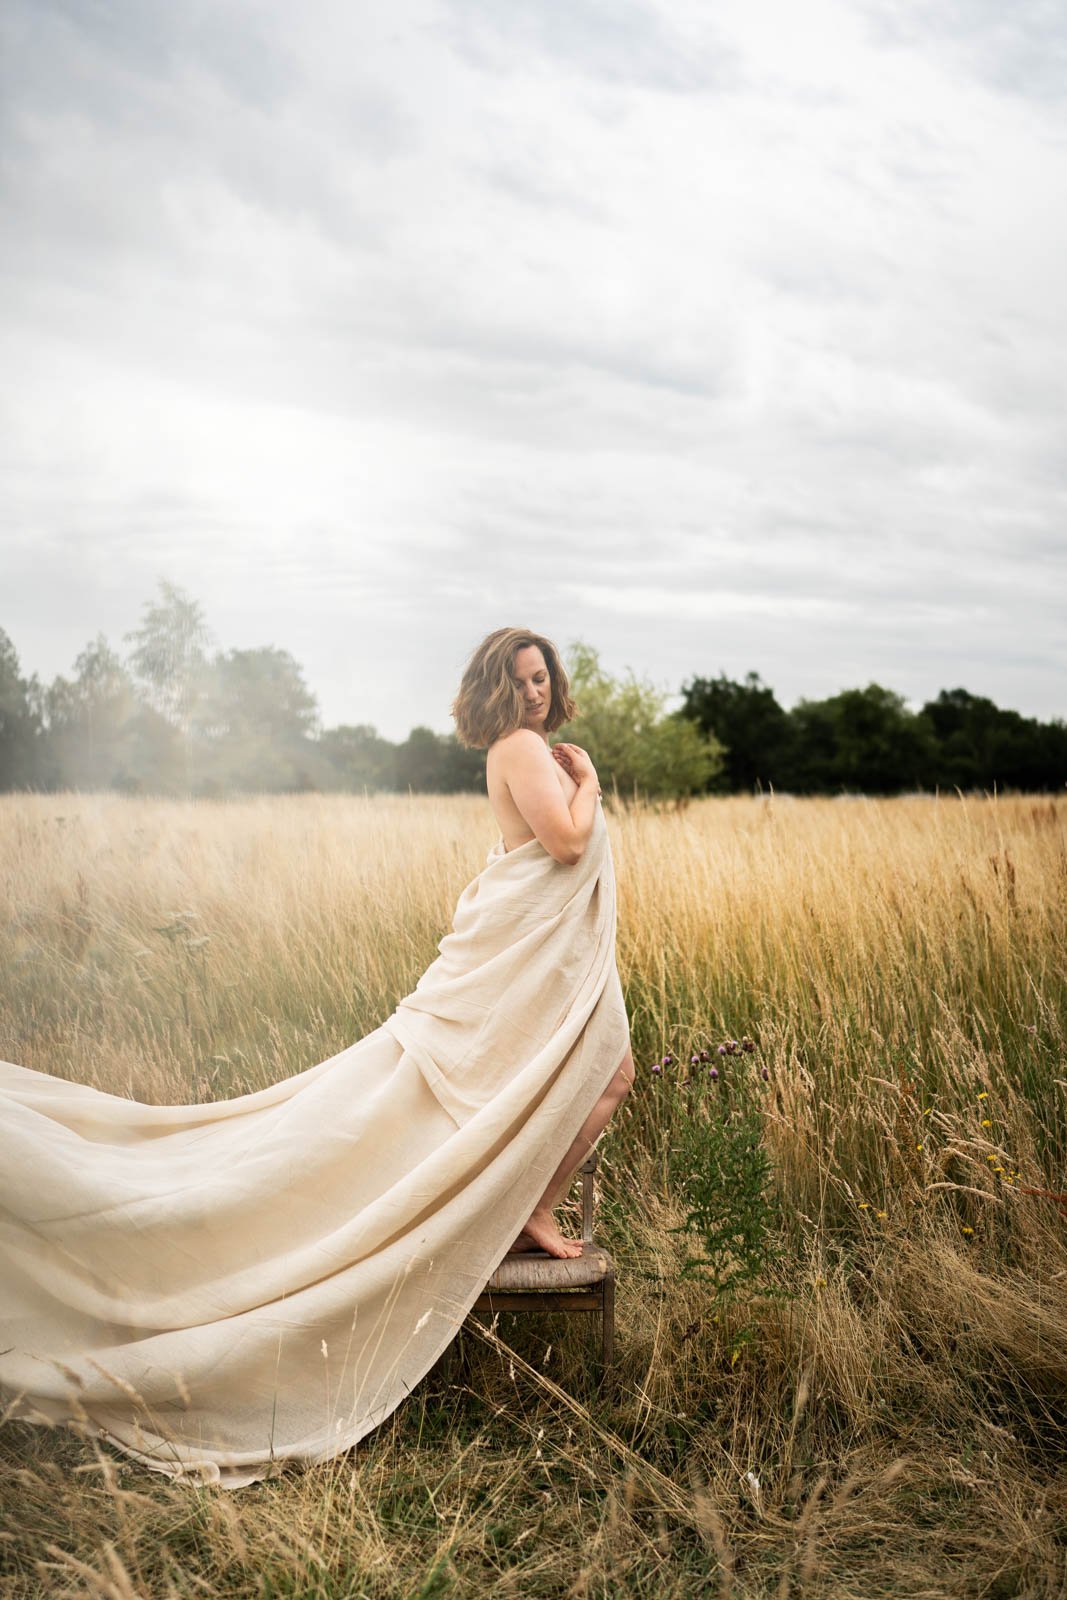
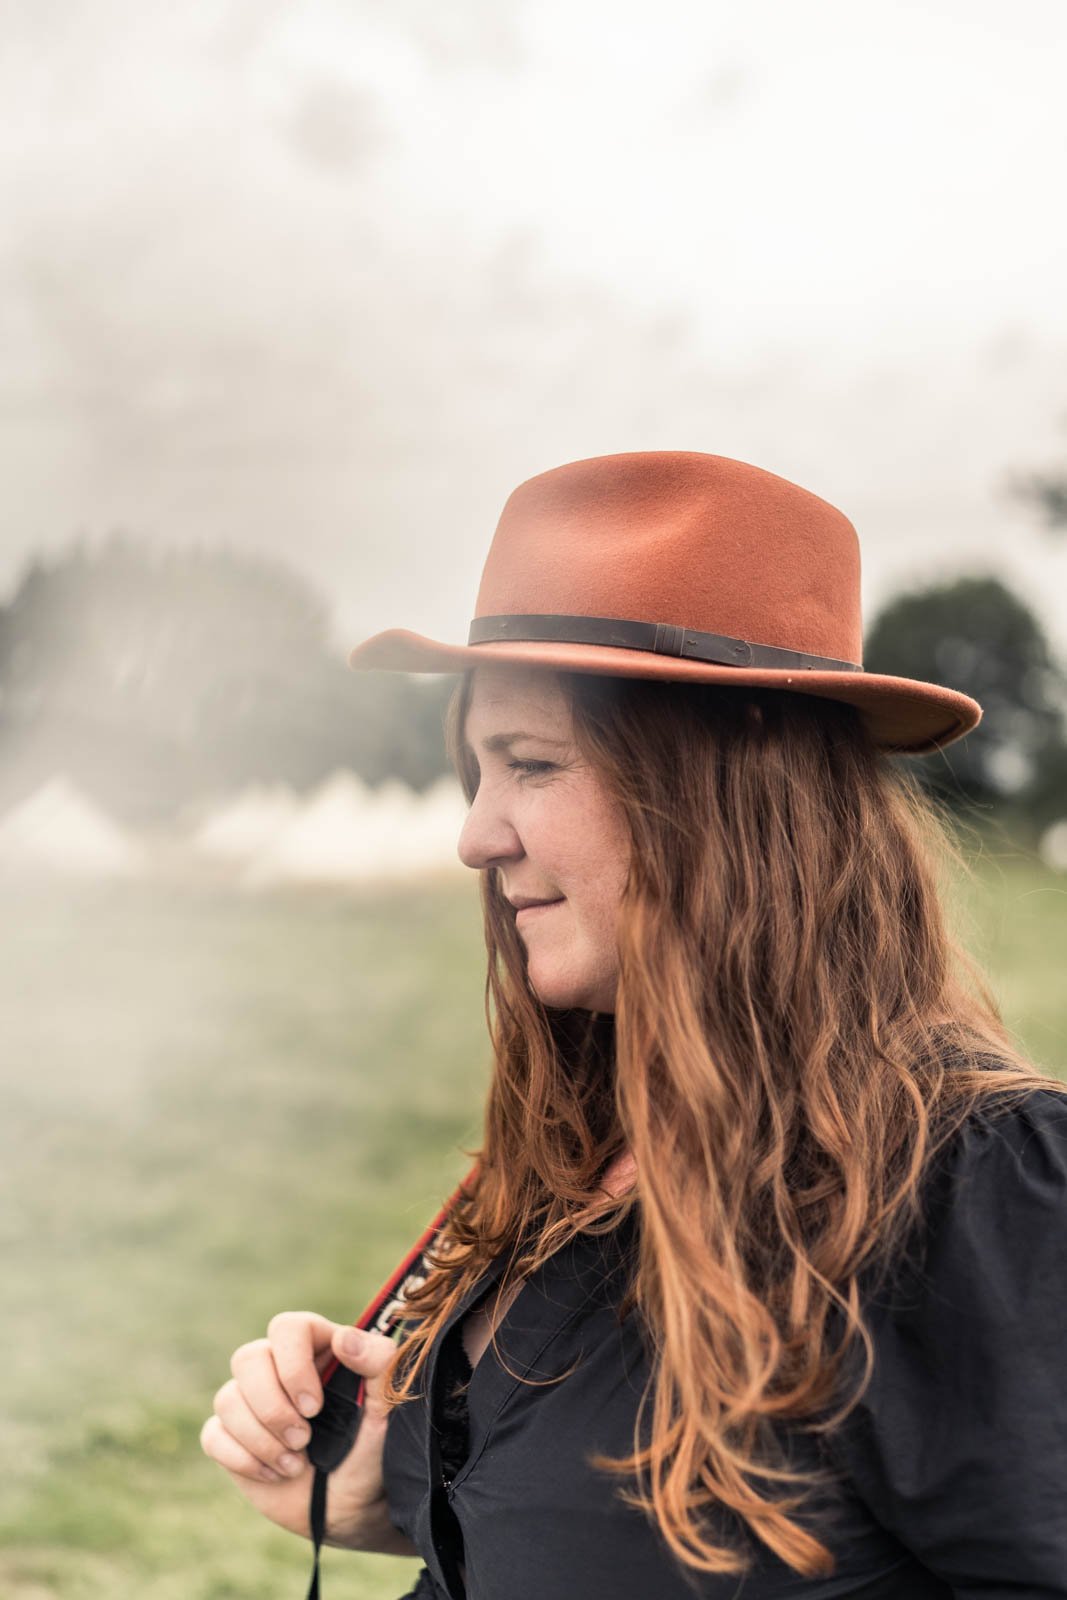
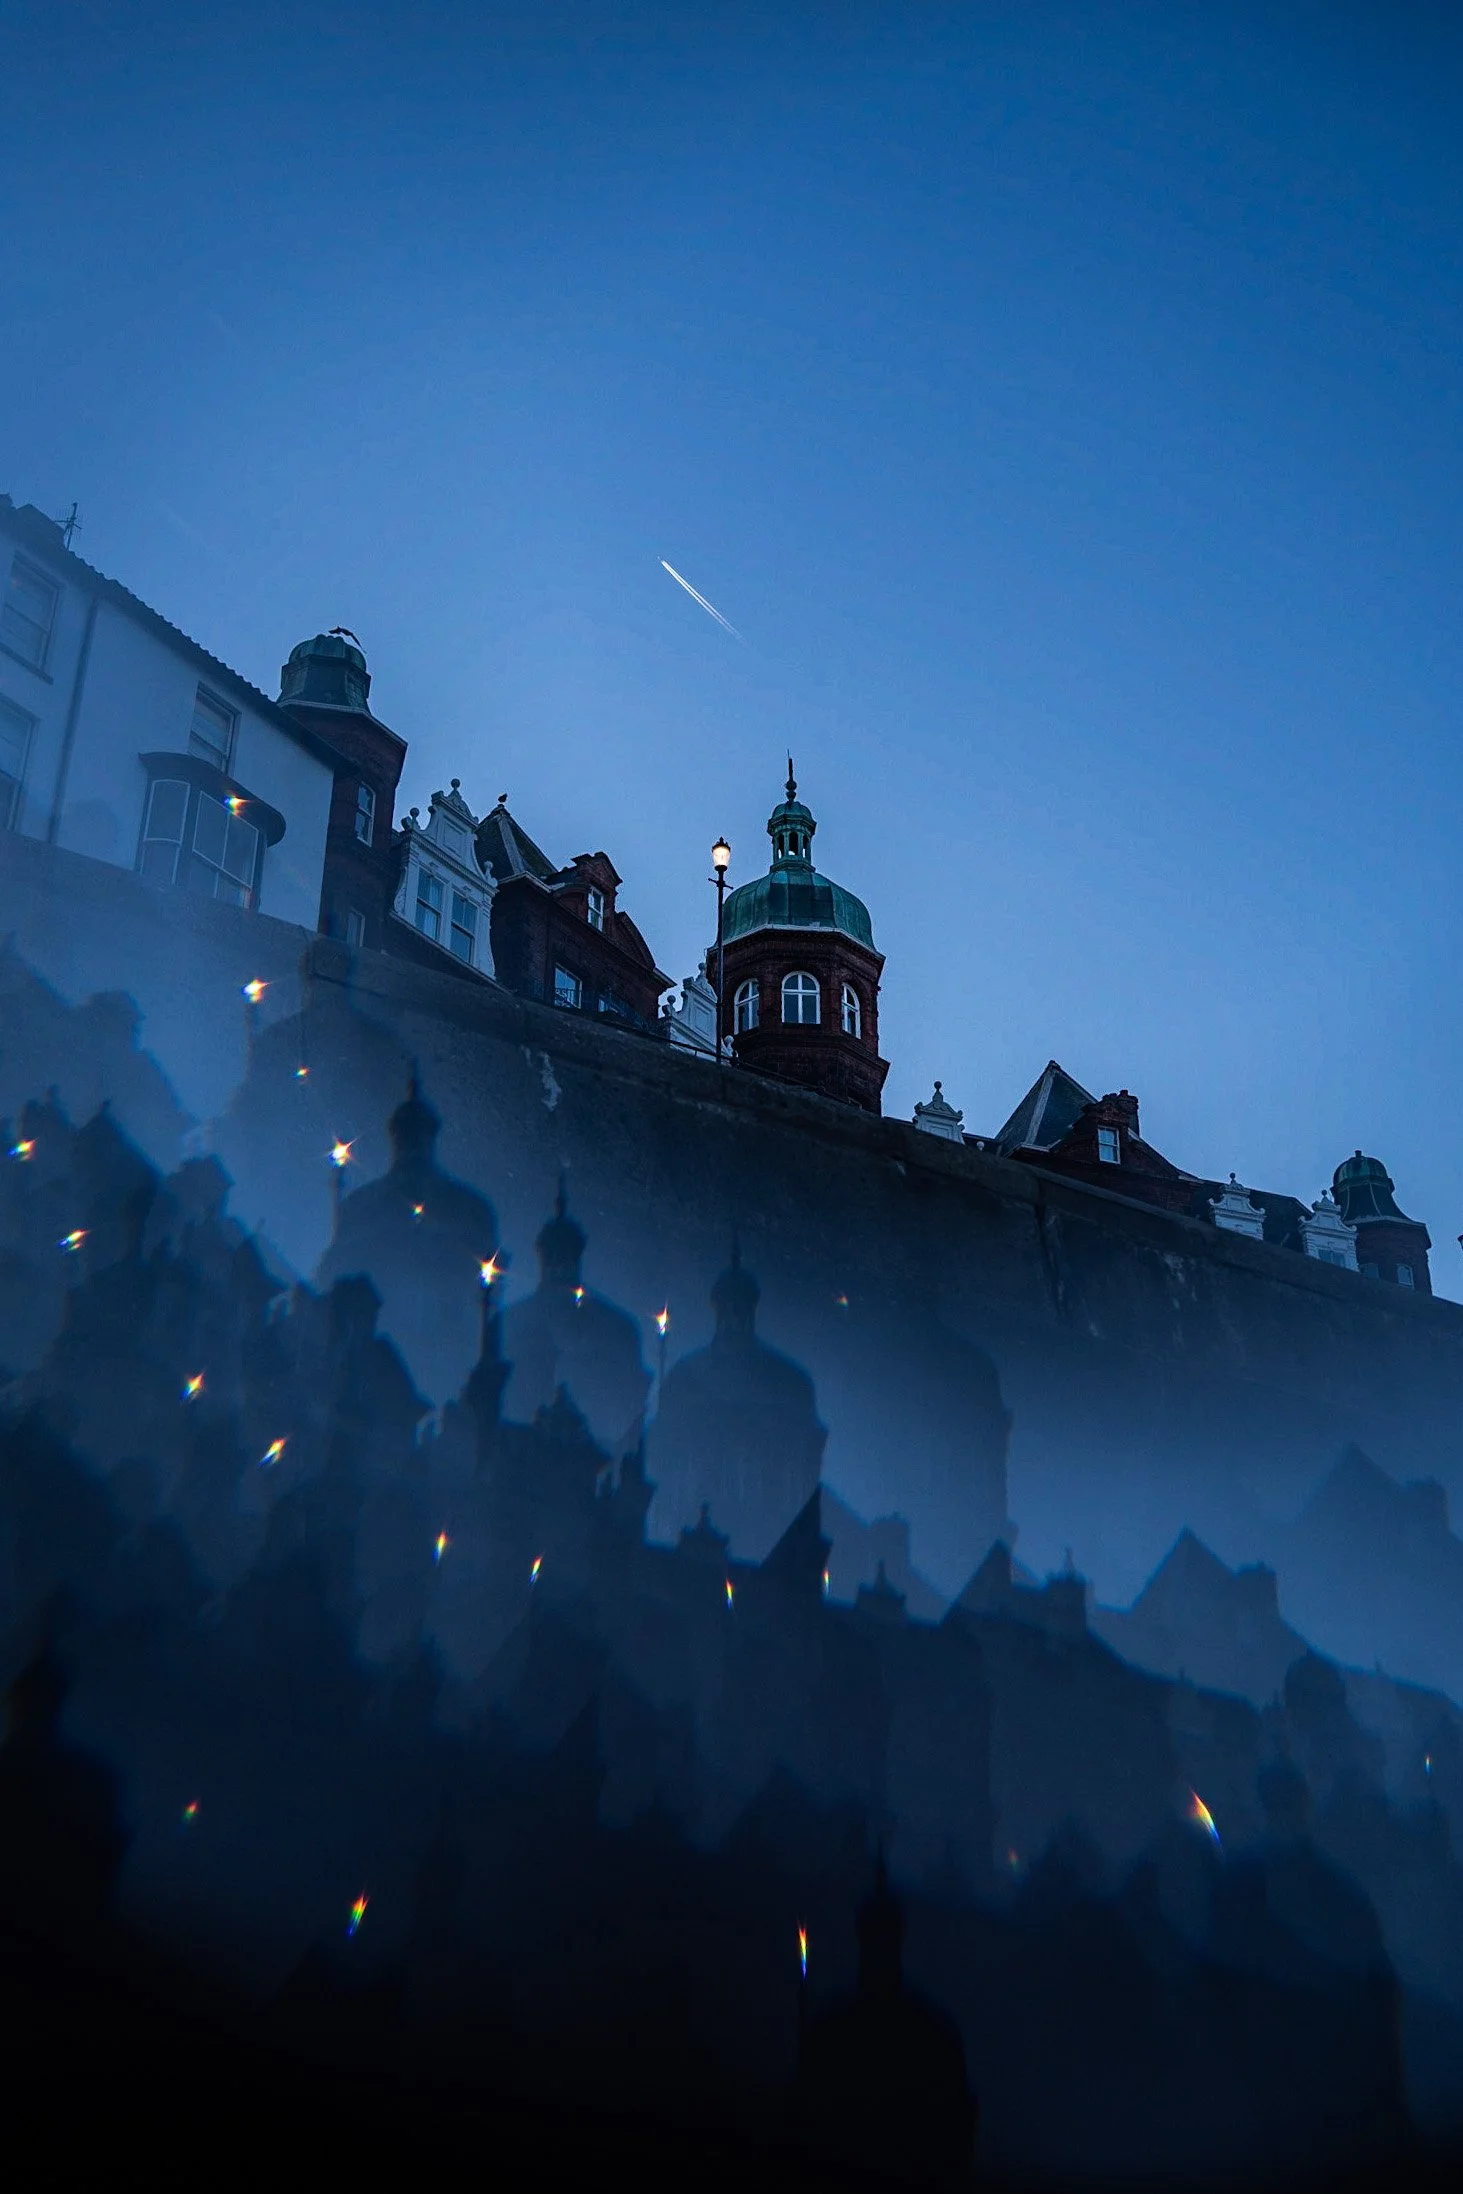
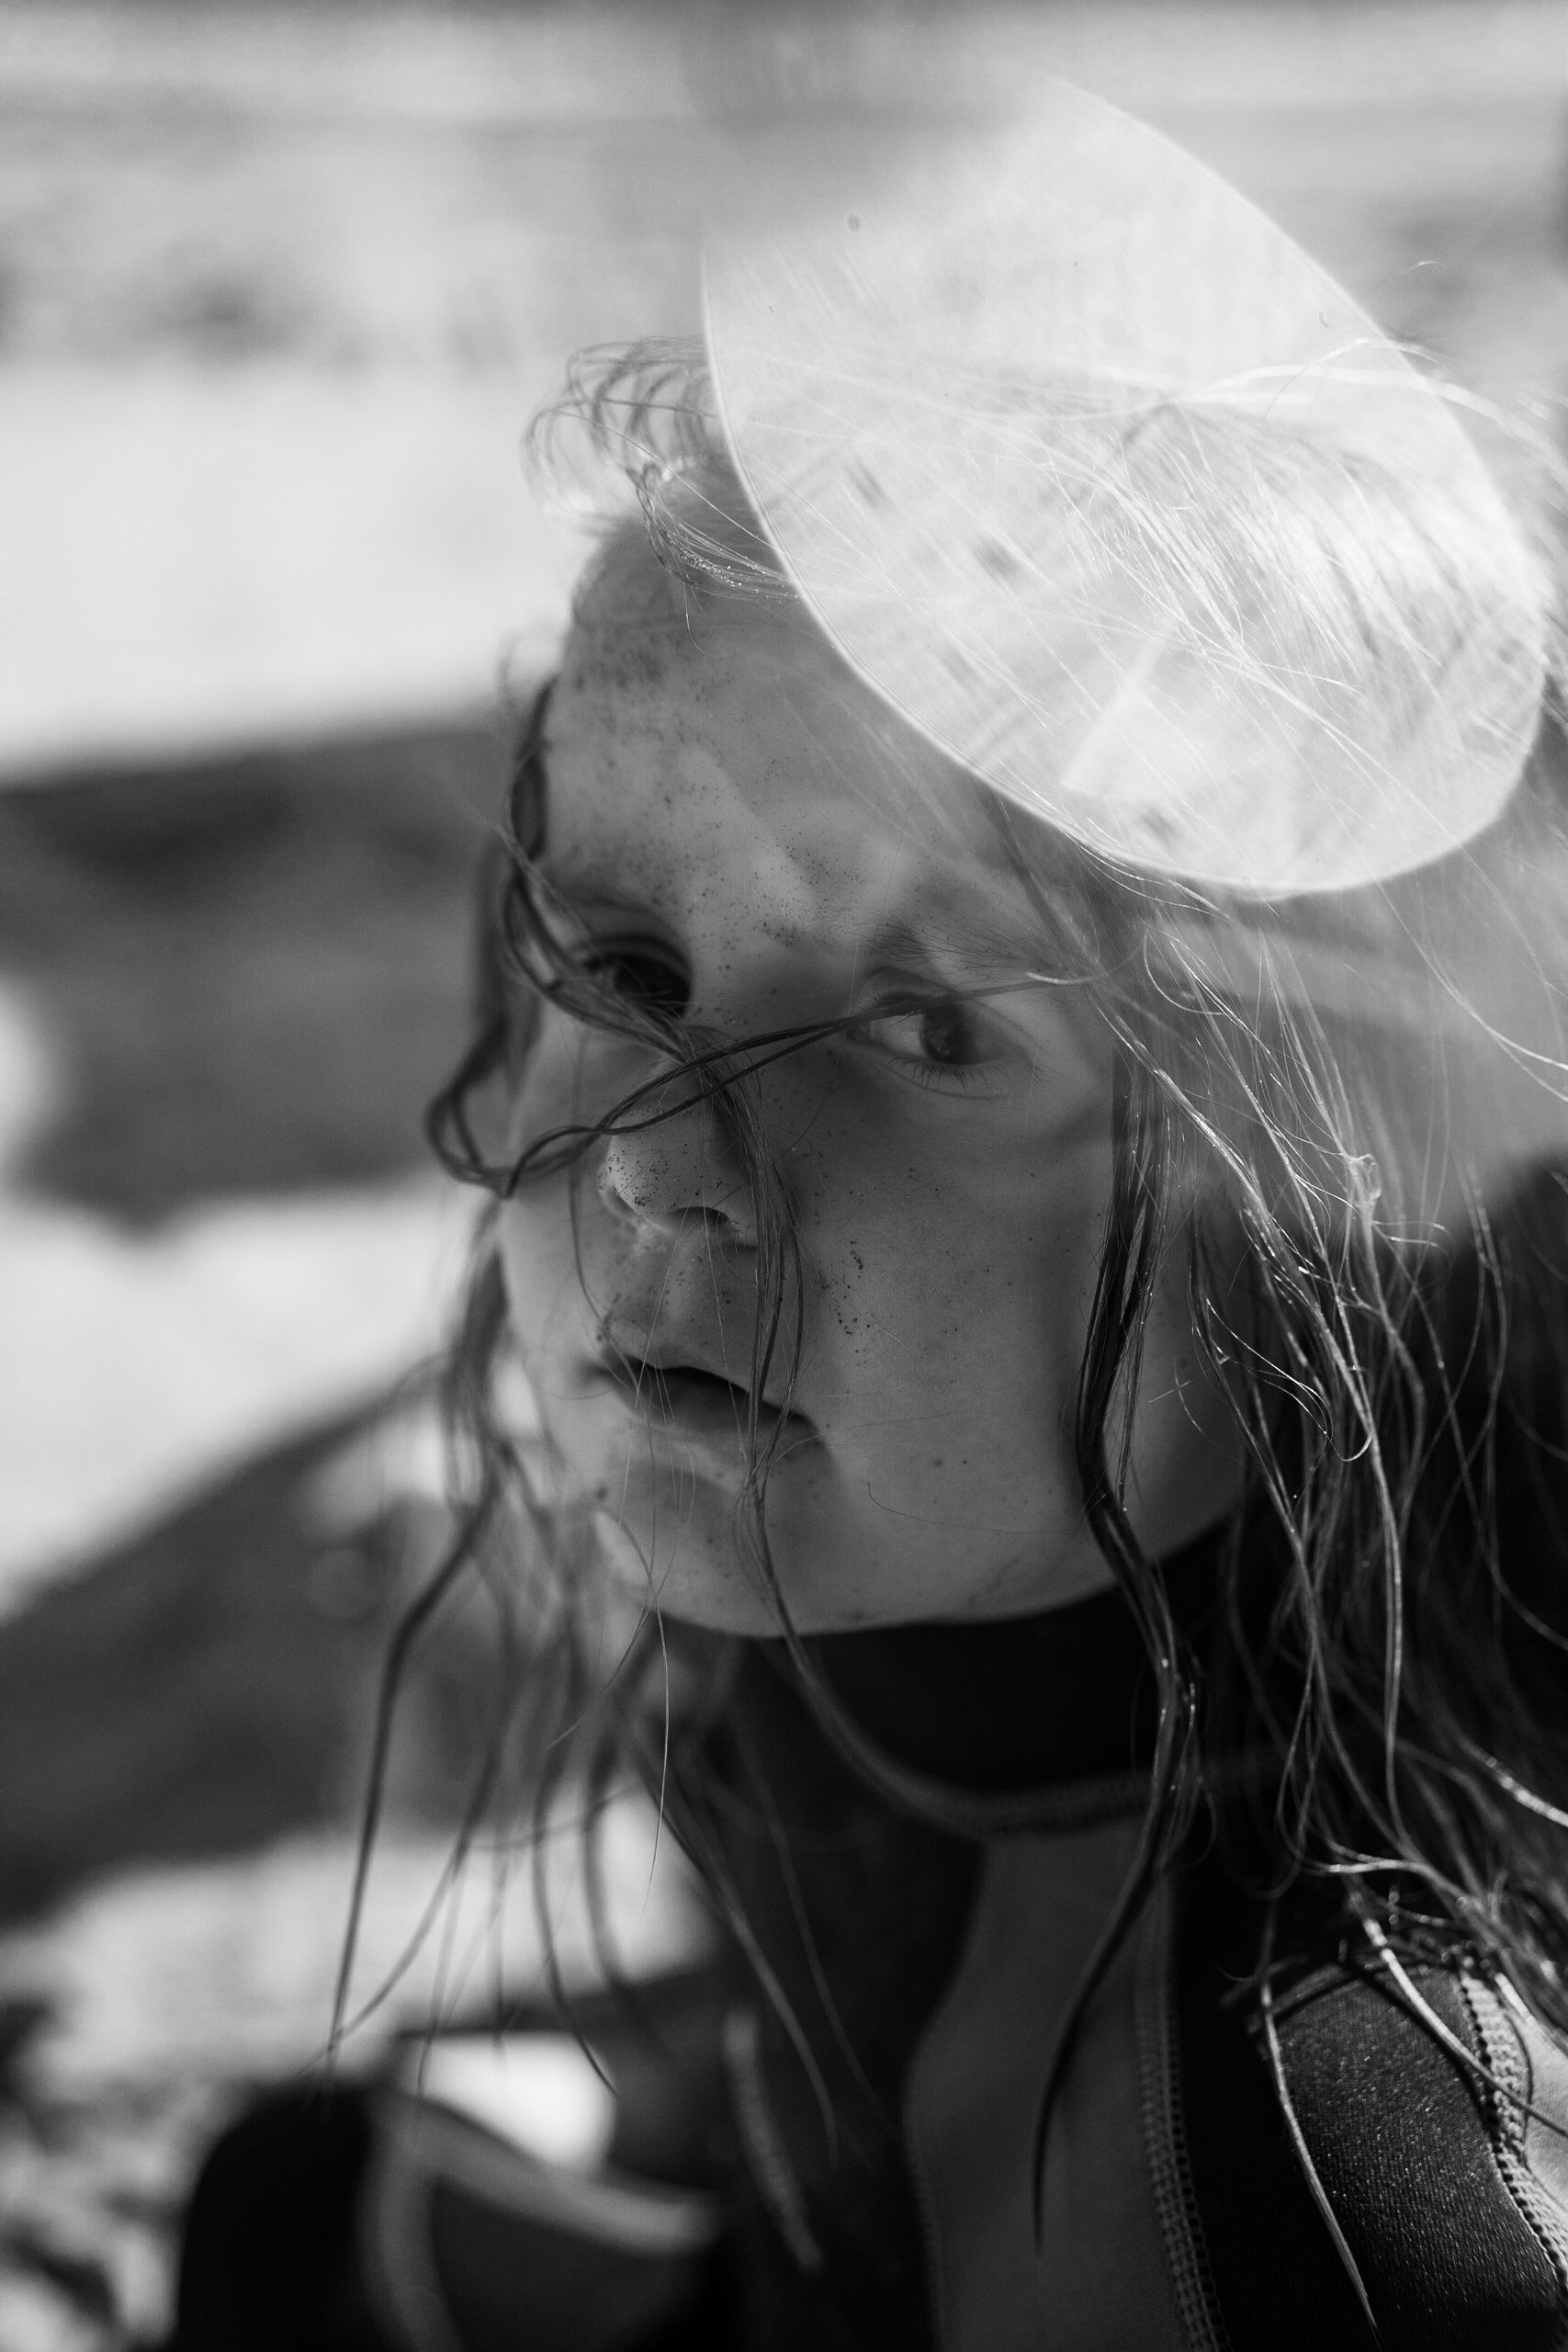
On a dark and gloomy day, you can still use your prism, but the effect will be very muted without a strong source of light. This is when you can use the prism to reduce the harshness of the edges of your photograph, blurring the corners and softening areas of your frame.
And don’t forget to use the prisms with your phone. If you don’t have your big camera with you this will work beautifully too. For phones the effects are best when you just place a small corner of the prism across the lens. Just be careful not to scratch anything!
Don’t forget to reset your settings when you stop using the prism! So keep a constant eye on your aperture settings!
Use a filter on your lens to protect it from unnecessary scratches when using your prism.
Be sure you keep moving your new prism around to “catch” the light in different ways. Twist it, tilt it, turn it and then do it again!
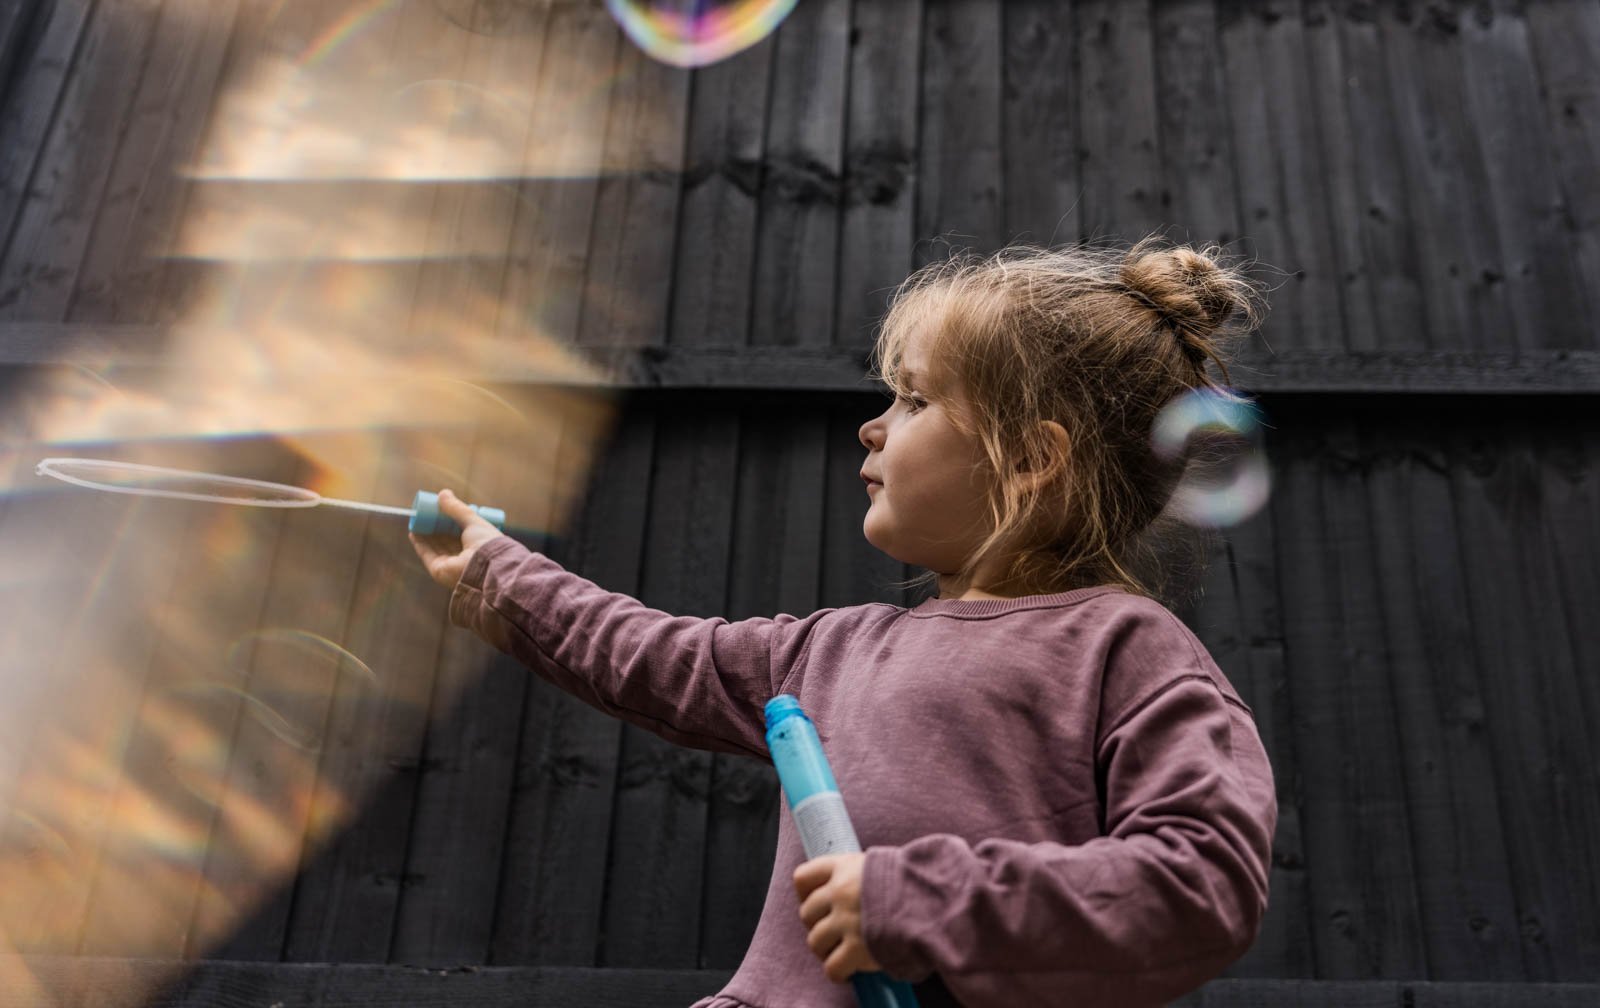
Prisms love natural sunshine. Bright and sunny days are what bring them to life, creating beautiful sun flares, bokeh, blur & rainbows. So if you see the sun peeking out from behind the clouds, grab your prism and get outside shooting!
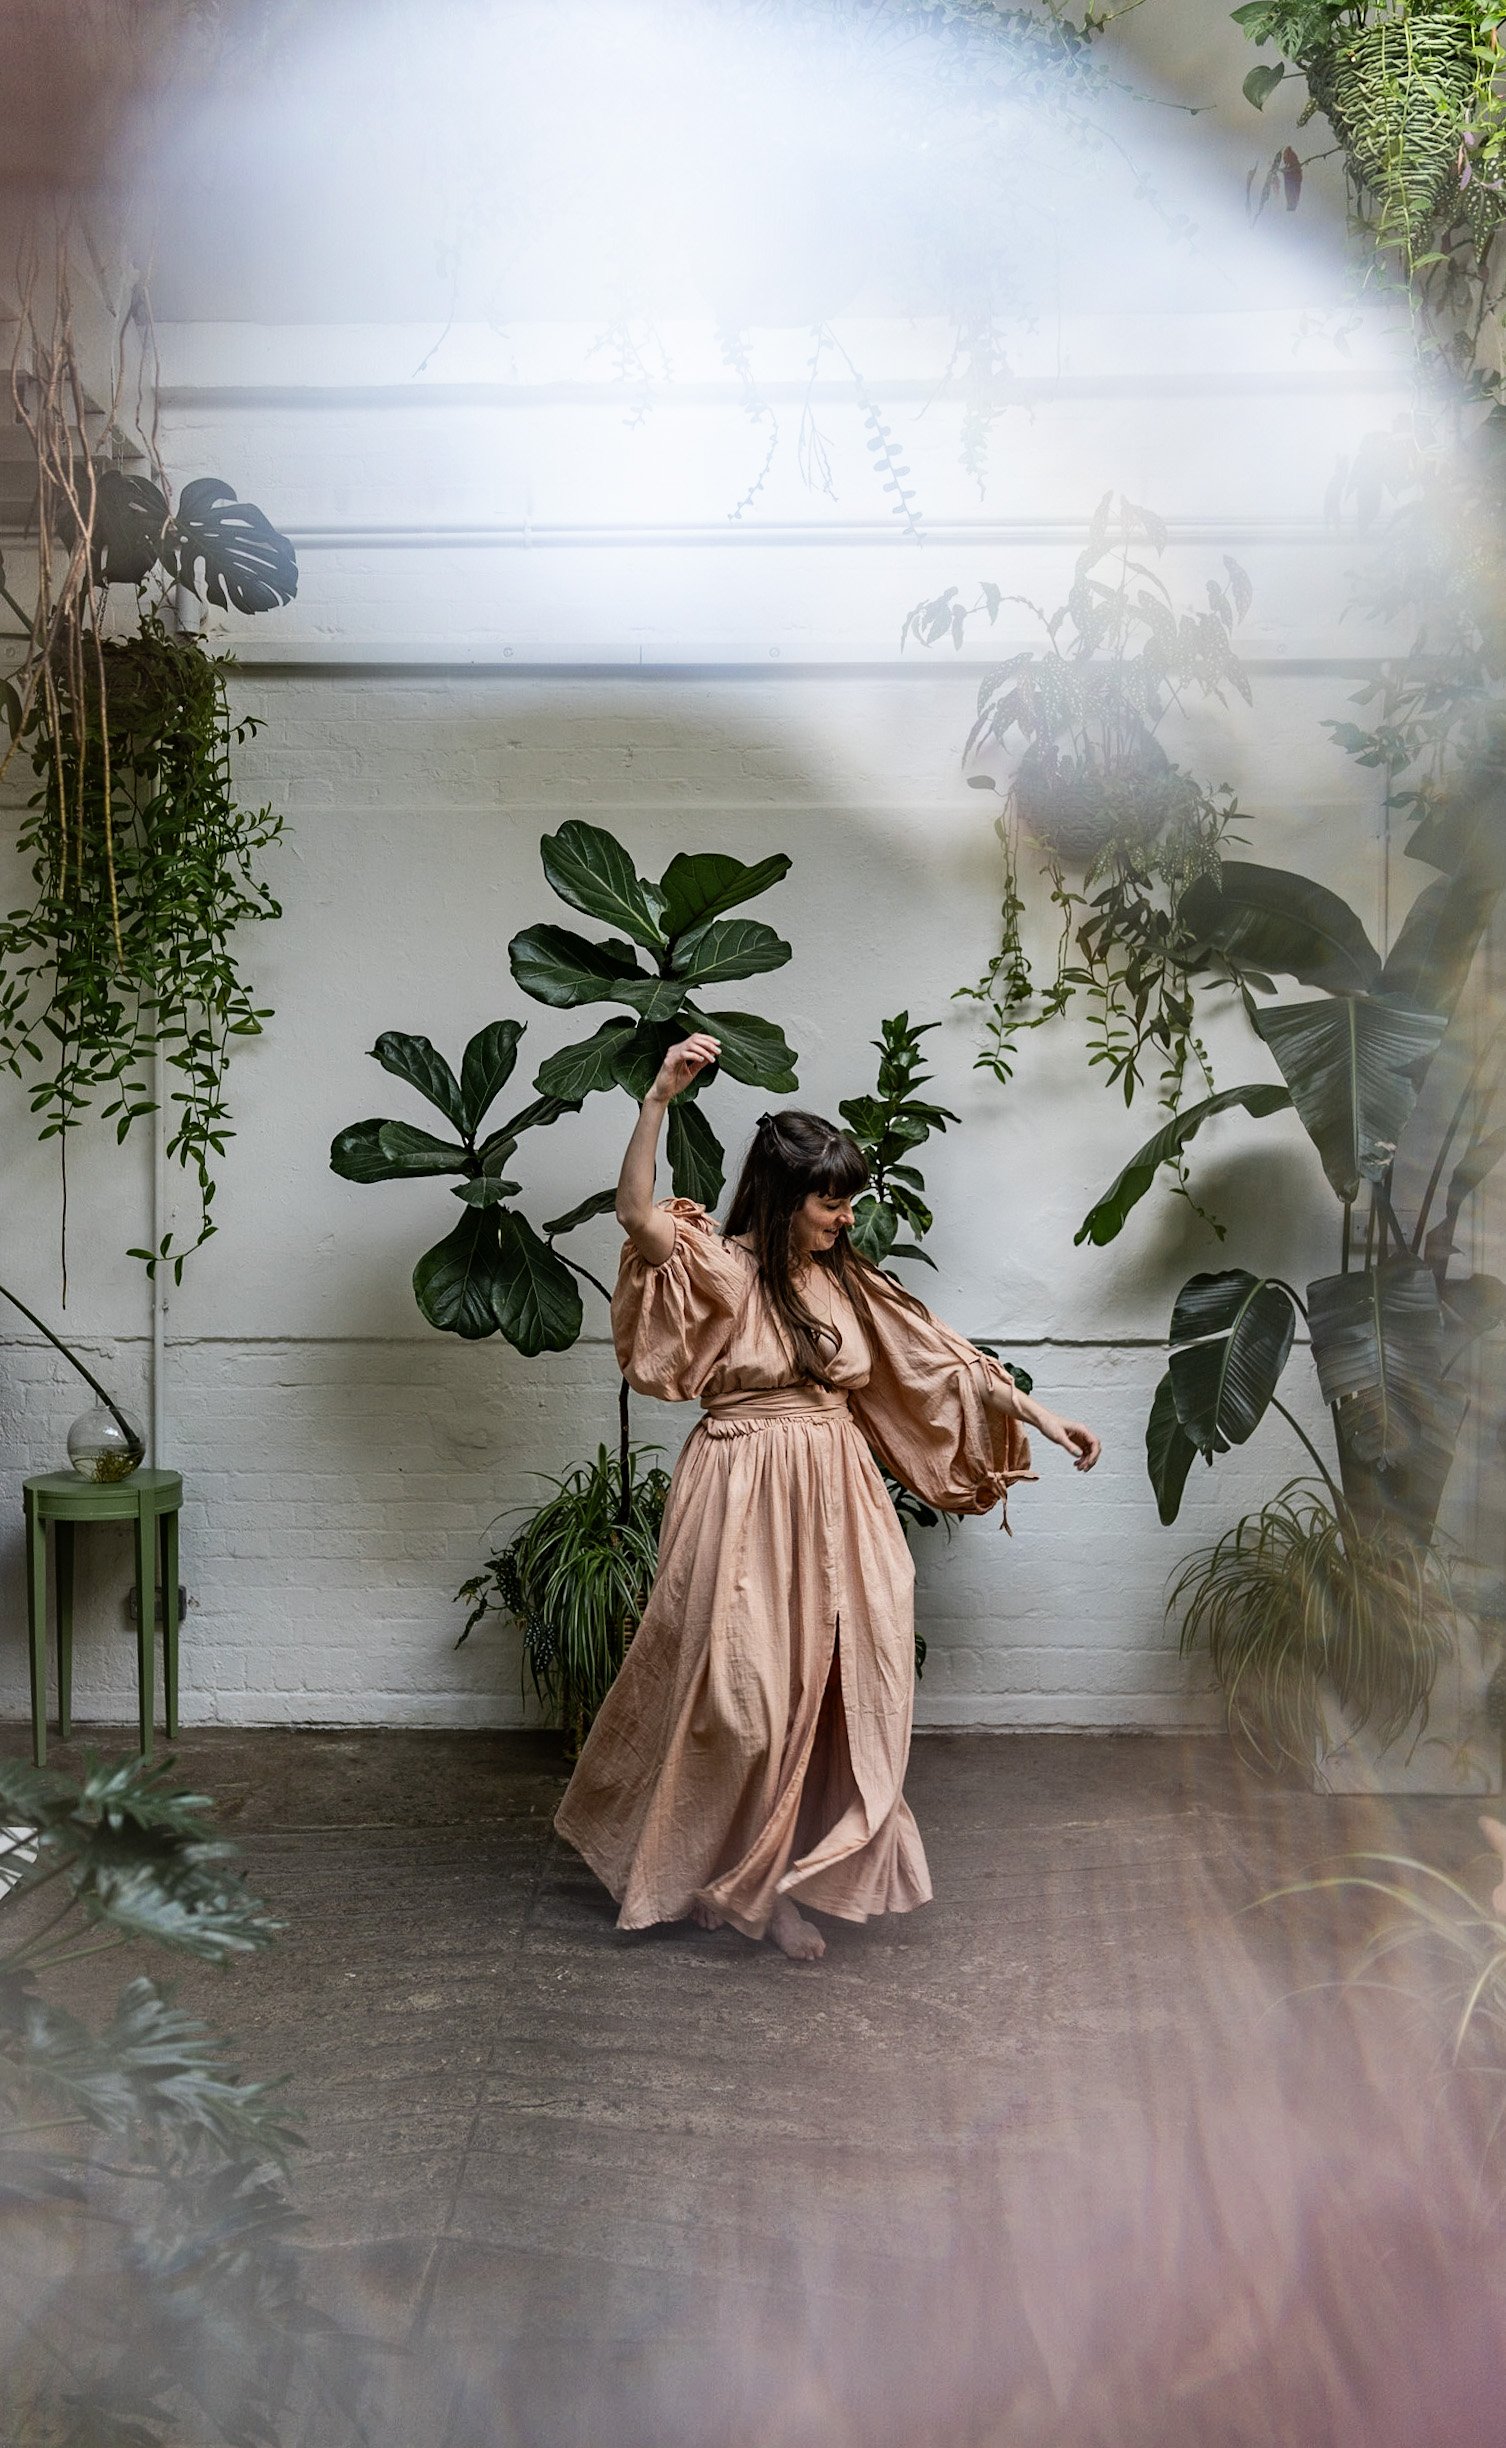
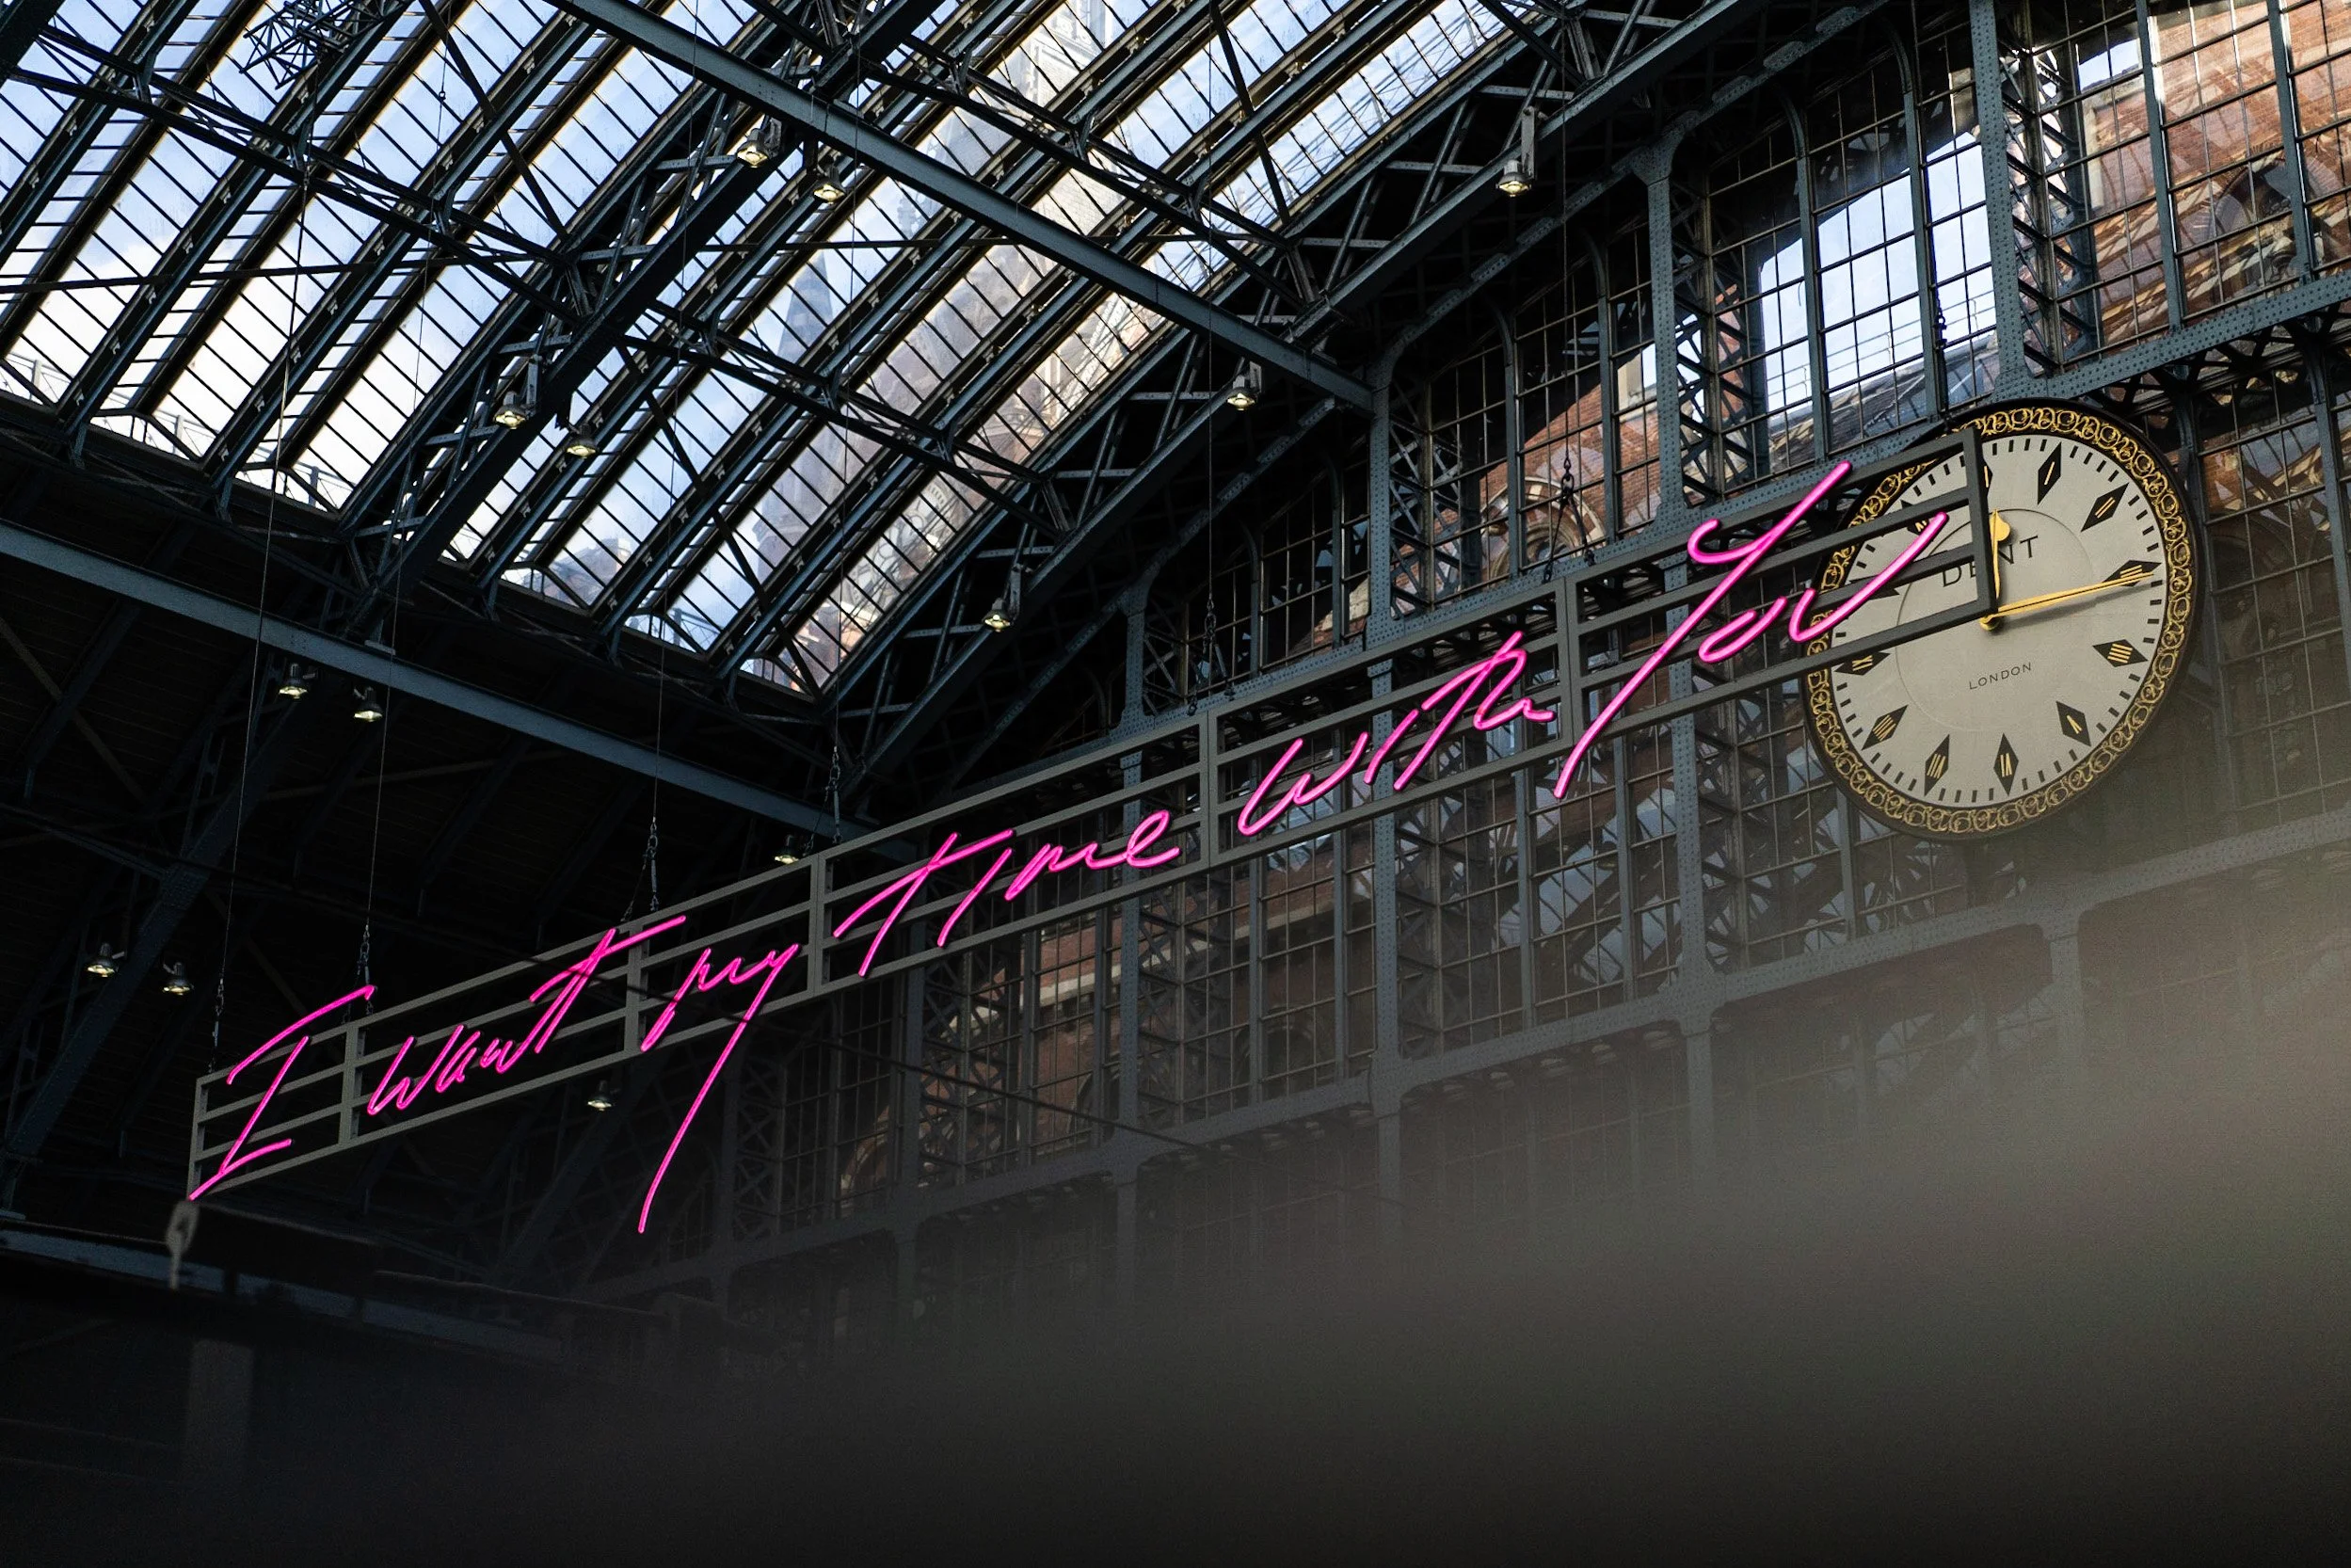
Prisms also love artificial light. Try shooting inside, with fairy lights, shop signs, neon and traffic lights to see the way the prism refracts the light.
When on the move, try to keep your prism in its protective sleeve just to avoid damage. Whilst scratches and marks will not have an impact on your shot due to the wide aperture you are shooting at (the prism is blurred), it will just help the prism have a longer life!